Garbage Disposal Repair and Installation Process
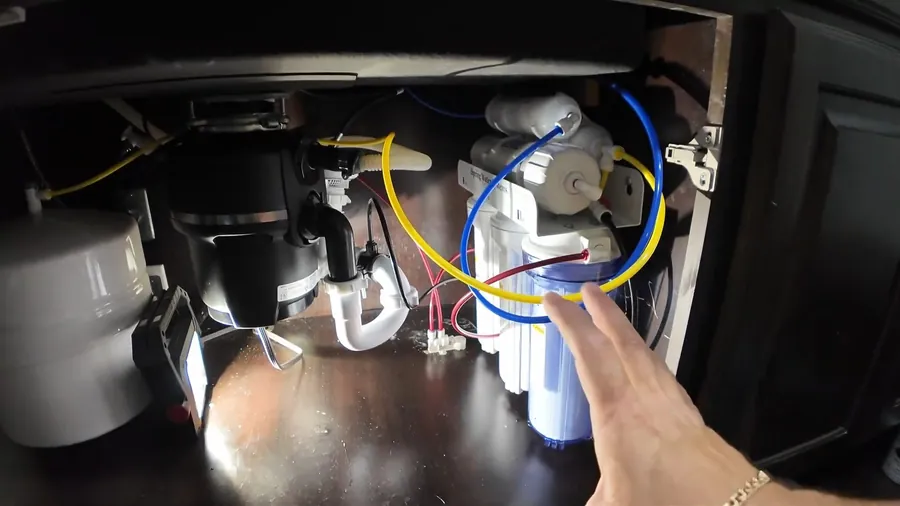
Disposal repair begins with confirming the specific failure: jam, leak location, drainage issue, or electrical problem. For jams, the reset and hex wrench procedure clears most jamming events without disassembly. For flange leaks, the disposal is removed from the mounting collar, the flange seal is replaced, and the disposal is remounted. For full unit replacement, the supply power is shut off at the circuit breaker or by unplugging the disposal, the unit is disconnected from the drain and the mounting collar, the old unit is removed, the new unit is mounted using the existing or new mounting collar depending on compatibility, and the drain connections are made.
For first-time disposal installation in a Lakewood home that does not currently have one, the drain configuration under the sink may need modification. Original Lakewood 1950s kitchens with a single-basin sink and a simple P-trap configuration typically can accept a disposal with modification of the drain branch. Original two-basin configurations and kitchens with an existing dishwasher that drains through an air gap or high loop at the drain also need assessment before installation. We identify all required drain and electrical modifications in the written estimate before any installation work begins.